Build log
Every version of the 3D drip irrigation system is shown below.
The gravity drip kit
The kit went through three versions before it was placed on Farmish. I tested it through my own terrarium.
Three stakes pin the finished ring around a plant, two printed parts combine to form a flow controller, and a root cap covers the soil at the stem.
-
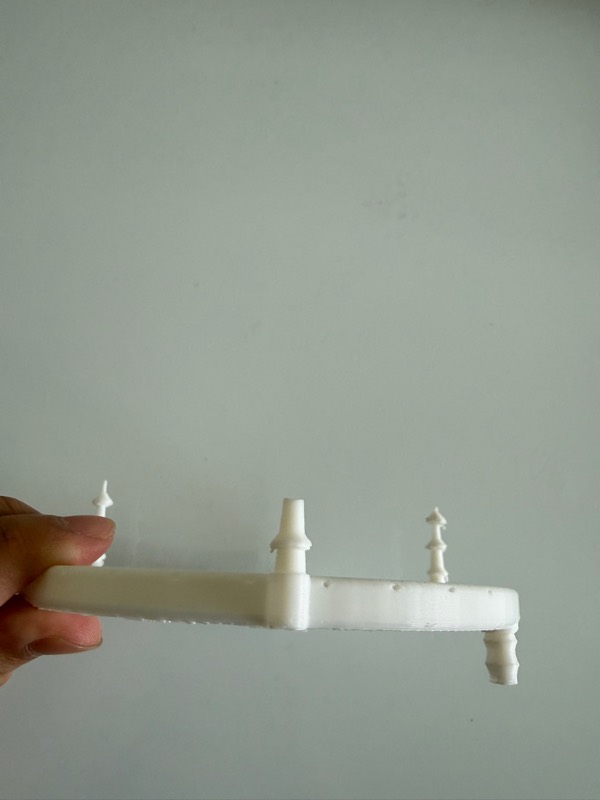
Fig. 1 The manifold, held up against a wall. Version 1: A flat manifold
Drawn in OpenSCAD as a straight bar with barbed outlets for a line of tubing. It failed because the nail-like pegs along the bar were prone to breaking.
-
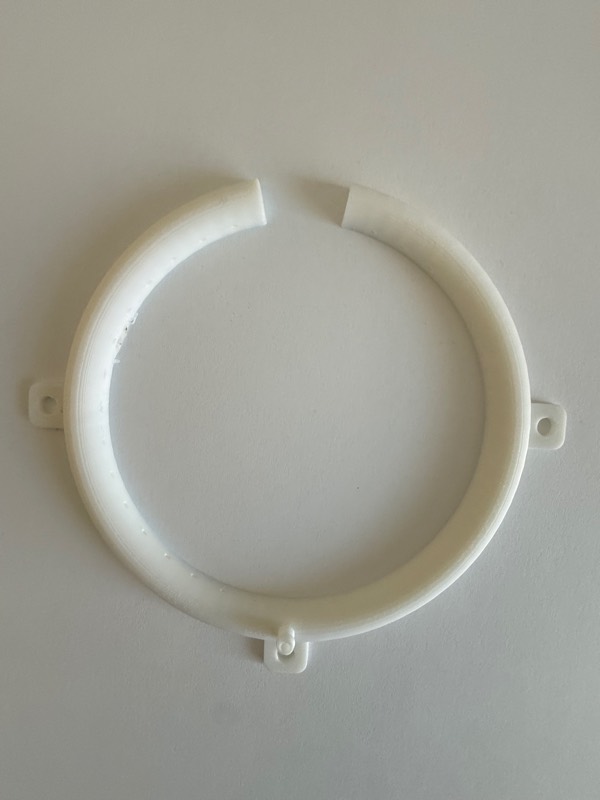
Fig. 2 The break is at the top, where the seam was. Version 2: The first ring
Bent into a ring so the water lands all the way around the plant. It split at the seam before it held any water.
-
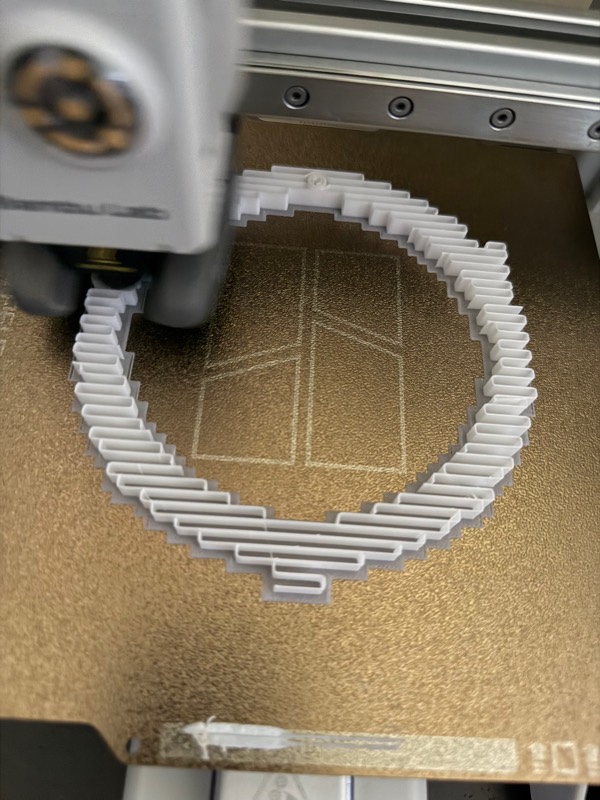
Fig. 3 The zig-zag channel, visible in the first layers. 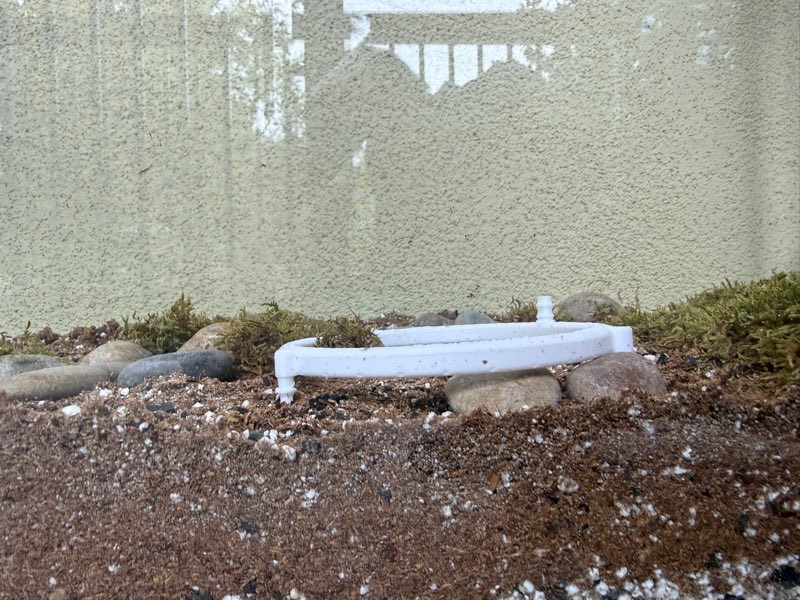
Fig. 4 The stakes pin the ring into the test bed. Version 3 and the test bed: One piece, with a maze inside
The change from v2 is attachable stakes that help it go into the soil. It prints in one go, with a zig-zag channel inside the wall that slows the water to drips. This is the version on Farmish.
In the test bed (Fig. 4), the stakes pin it into soil, moss, and stones.
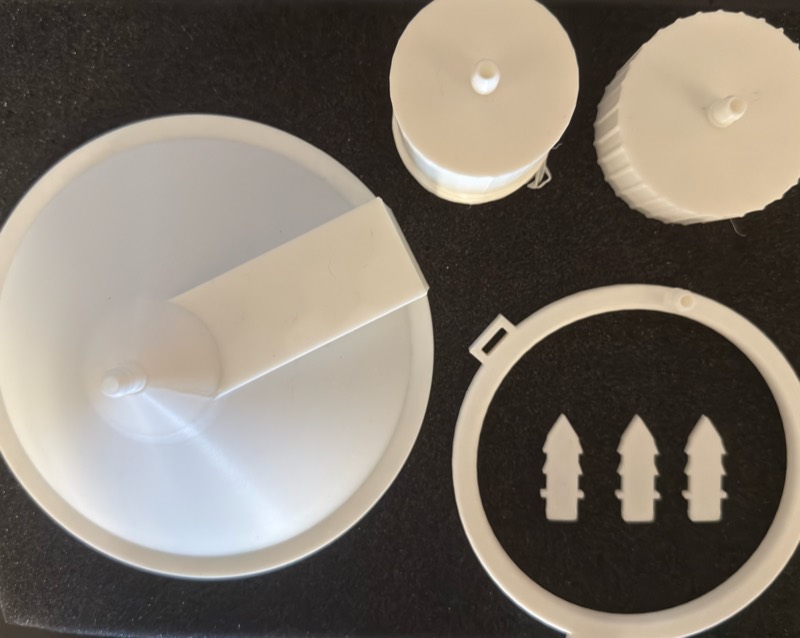
What you get in the kit
- Root cap
Sits over the soil around the stem.
- Flow controller, two parts
The body and the cap combine to form the flow controller.
- Drip ring
One printed piece. A zig-zag channel inside the wall slows the water so it leaves as drips all the way around.
- Stakes, three
Clip into the tabs on the ring and pin it into the soil.